Quality since 1946
9049 Tyler Blvd. • Mentor, Ohio 44060
Phone (440) 974-8888 • Fax (440) 974-0165
Toll-Free Fax 800-841-8003 • buyersproducts.com
Quality since 1946
9049 Tyler Blvd. • Mentor, Ohio 44060
Phone (440) 974-8888 • Fax (440) 974-0165
Toll-Free Fax 800-841-8003 • buyersproducts.com
3005006 Rev. A
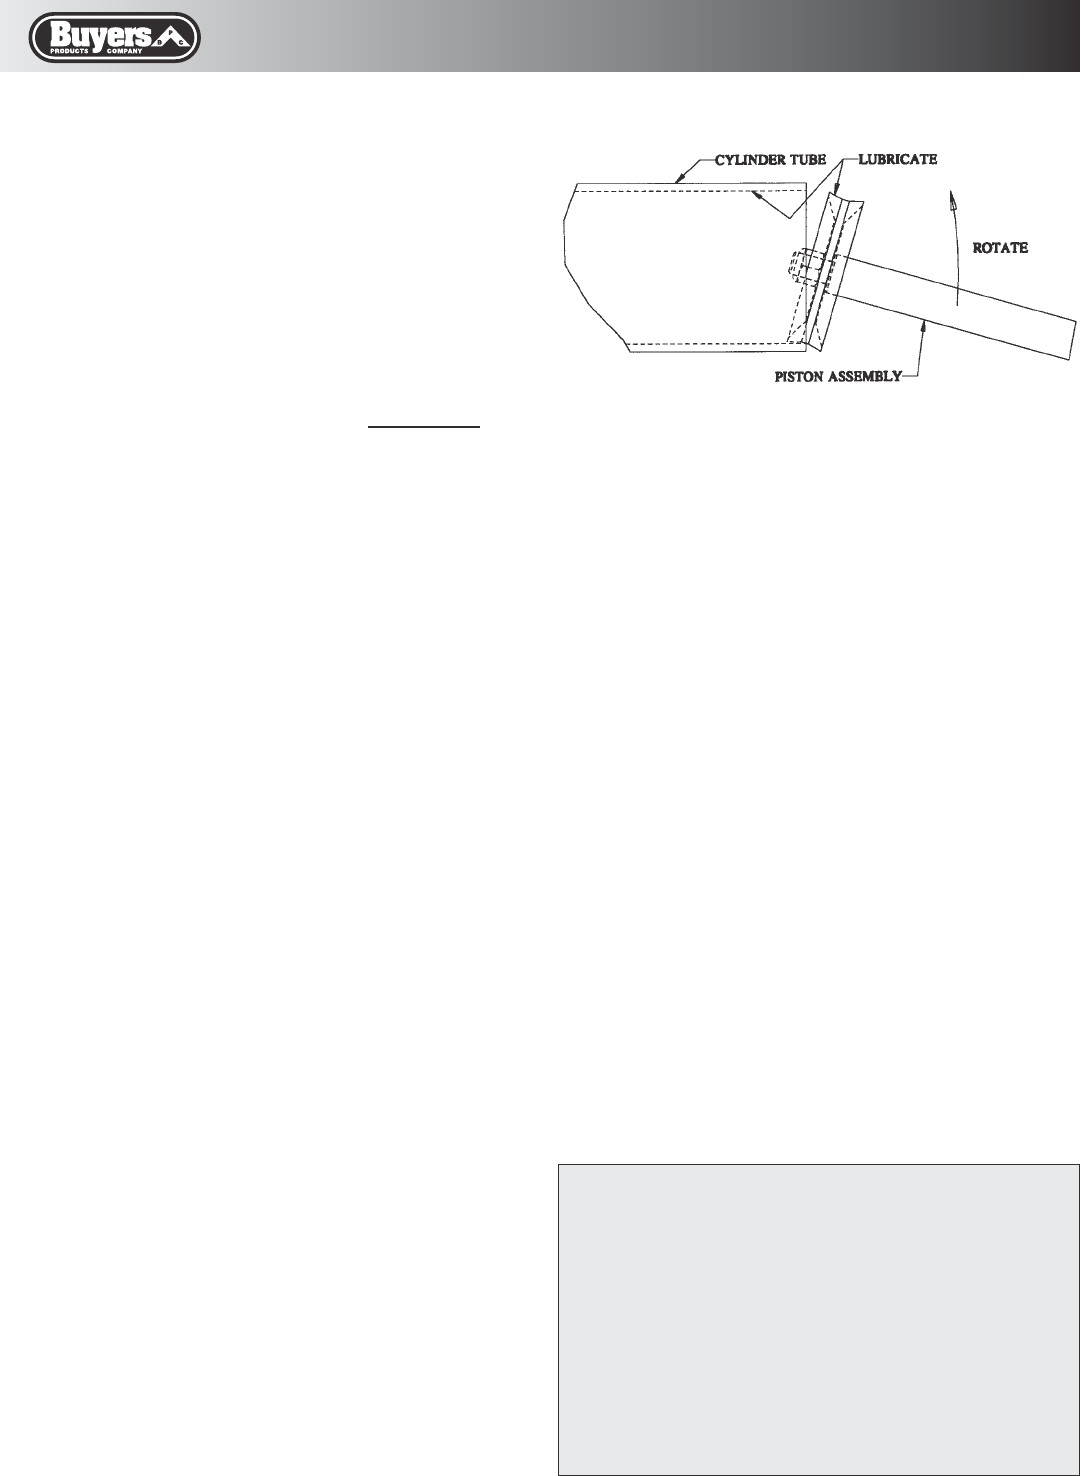
Fig. 1
Warranty Information
Buyers Products Co. warrants all truck/trailer hardware manufac-
tured or distributed by it, to be free from defects in material and
workmanship for a period of one year from date of shipment. Parts
must be properly installed and used under normal conditions. Any
product which has been altered, including modification, misuse,
accident or lack of maintenance will not be considered under
warranty. Normal wear is excluded. The sole responsibil-
ity of Buyers Products Co. under this warranty is limited to
repairing or replacing any part or parts which are returned,
prepaid, and are found to be defective by Buyers Products Co.
Authorization from Buyers Products Co. must be obtained before
returning any part. No charges for transportation or labor per-
formed on Buyers’ products will be allowed under this warranty.
Continue here for Cap Replacement and
Cylinder Reassembly:
9. Lubricate the urethane piston cup and the
inside of the cylinder tube with the grease sup-
plied.
10. Place the center of the piston cup on the
inside edge of the cylinder tube and carefully
rotate the piston cup into the tube. See Fig. 1.
Then, slide piston assembly into the
cylinder tube.
11. Lubricate the bushing and seals of the
front cap and the cylinder shaft with the grease
supplied.
12. Assemble a cylinder cap gasket into the gas-
ket seat in the front cap and slide cap assembly
over the shaft until it is against the cylinder tube.
13. Assemble the tie-rods screws into the four
holes in the rear cap. With the tie-rods in position,
assemble the cylinder cap gasket into the
gasket seat.
14. Slide the rear cap assembly onto the other
end of the cylinder tube sliding the tie-rods into
the holes in the front cap. Make sure the cylinder
ports in each cap are in the desired position.
15. Hand tighten the four nuts holding the
cylinder together.
16. Make sure the cylinder cap gaskets are in
the proper position and torque the nuts to 72
in-lbs. using opposite corner to corner torquing
 (1 pages)
 Manymanuals.com
 Manymanuals.de
 Manymanuals.fr
 Manymanuals.it
 Manymanuals.pl
 Manymanuals.cz
 Manymanuals.es
 Manymanuals-pt.com
Commentaires sur ces manuels